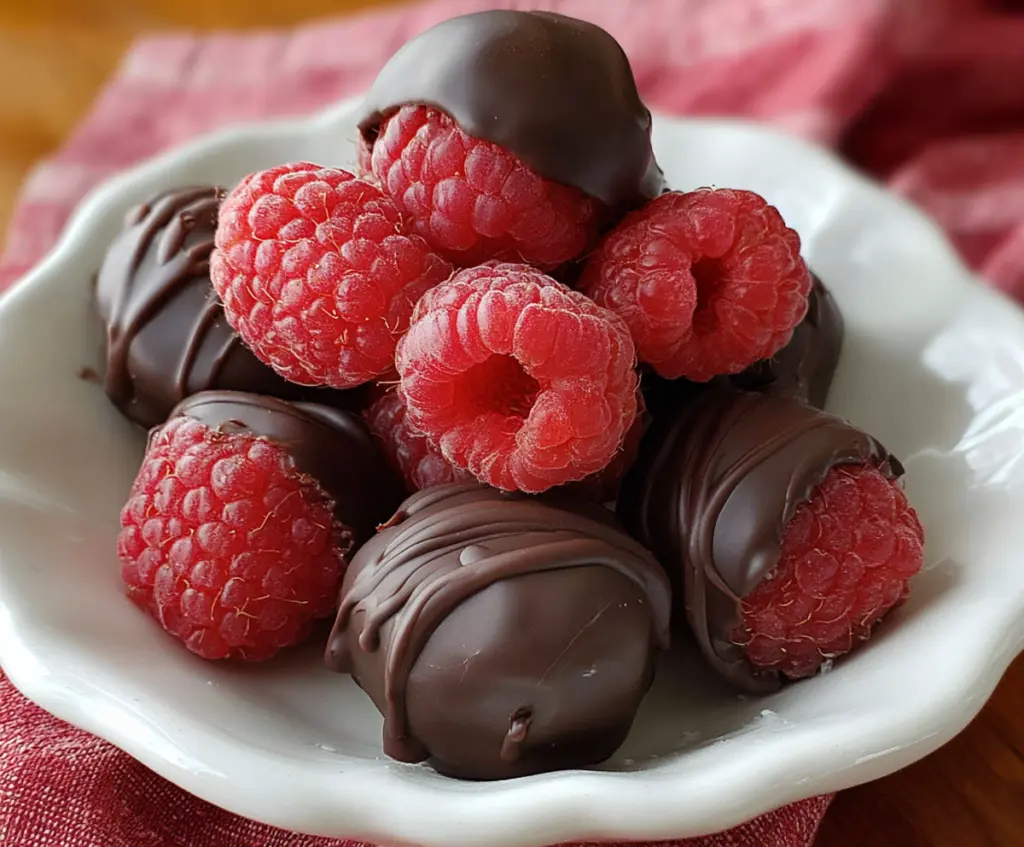
Chocolate Covered Raspberries are a simple, sweet treat that pairs the juicy tartness of fresh raspberries with the smooth, rich taste of chocolate. The contrast of the soft, tangy fruit and the snap of the chocolate shell makes every bite a little celebration in your mouth.
I love making these for special occasions or just as a little pick-me-up. One tip I always follow is to use good quality chocolate because it makes all the difference in that silky coating. Plus, chilling them for a bit helps the chocolate harden perfectly and gives you that satisfying crunch.
These treats are so versatile—great for a fancy dessert platter, a gift, or even just a mid-afternoon snack when you want something sweet but light. I find myself reaching for these when I want a little sweetness without feeling too heavy afterward. Sharing them with friends usually ends in big smiles and a few chocolatey fingers!
Key Ingredients & Substitutions
Raspberries: Fresh raspberries are best for this recipe. Make sure they are ripe but firm to avoid them getting squished. If you can’t find fresh raspberries, frozen ones can work but dry them well.
Chocolate: Semi-sweet or dark chocolate adds rich flavor. I like dark chocolate for a slightly less sweet taste. If you prefer a sweeter option, milk chocolate works fine too. Use high-quality chocolate for the best coating.
Coconut or Vegetable Oil (optional): Adding a small amount helps the chocolate melt smoothly and makes dipping easier. If you don’t have oil, just melt the chocolate slowly and carefully to avoid burning it.
How Do You Get the Chocolate to Coat Smoothly and Set Properly?
Melting the chocolate gently is key to a smooth coating. Use a double boiler or microwave in short bursts. Stir the chocolate often to avoid overheating.
- For double boiler: Keep water simmering, not boiling; chocolate bowl shouldn’t touch water.
- For microwave: Heat in 20-second bursts, stirring each time until smooth.
- Dipping: Use a fork or toothpick to dip; let excess chocolate drip off before placing on parchment.
- Chill: Place dipped raspberries in the fridge to help chocolate harden and get a crisp finish.
If your chocolate gets too thick, add a tiny drop of oil to loosen it. Patience and gentle heat make a big difference here!
Equipment You’ll Need
- Double boiler or microwave-safe bowl – I recommend one that’s large enough to melt chocolate evenly without spilling.
- Fork or toothpicks – perfect for dipping the raspberries without making a mess.
- Parchment paper or silicone baking mat – for placing dipped raspberries so they don’t stick and stay neat.
- Small saucepan (for a double boiler) – helps gently melt chocolate without burning.
Flavor Variations & Add-Ins
- Dark or white chocolate: Switch up the type of chocolate for different tastes; white for a lighter, sweeter coating.
- Sprinkles or crushed nuts: Add texture and color by sprinkling on the chocolate before it hardens.
- Dark chocolate + a pinch of chili powder: For a spicy kick that pairs beautifully with the berries.
- Drizzle with caramel or white chocolate: For an extra fancy look and flavor.
Chocolate Covered Raspberries
Ingredients You’ll Need:
For the Raspberries:
- 1 pint fresh raspberries
For the Chocolate Coating:
- 6 ounces semi-sweet or dark chocolate, finely chopped or chocolate chips
- Optional: 1 teaspoon coconut oil or vegetable oil (for smoother chocolate coating)
How Much Time Will You Need?
This simple recipe takes about 10 minutes to prepare and around 20–30 minutes to chill the dipped raspberries until the chocolate sets. It’s quick, easy, and you get a beautiful, tasty treat to enjoy right away!
Step-by-Step Instructions:
1. Prepare the Raspberries:
Start by gently washing the fresh raspberries to remove any dirt. Carefully pat them dry with paper towels. It’s important they are completely dry so the chocolate sticks well and doesn’t slide off.
2. Get Ready to Dip:
Line a baking sheet or plate with parchment paper—this will be where you place the dipped raspberries so they don’t stick.
3. Melt the Chocolate:
You can melt your chocolate either with a double boiler or in the microwave. For a double boiler, bring a small pot of water to a gentle simmer, then place a heatproof bowl over it without touching the water. Stir the chopped chocolate until smooth. Optionally, add a teaspoon of coconut or vegetable oil to make the chocolate smoother for dipping.
For the microwave, heat the chocolate in 20-second bursts, stirring well each time until it’s fully melted and smooth.
4. Dip the Raspberries:
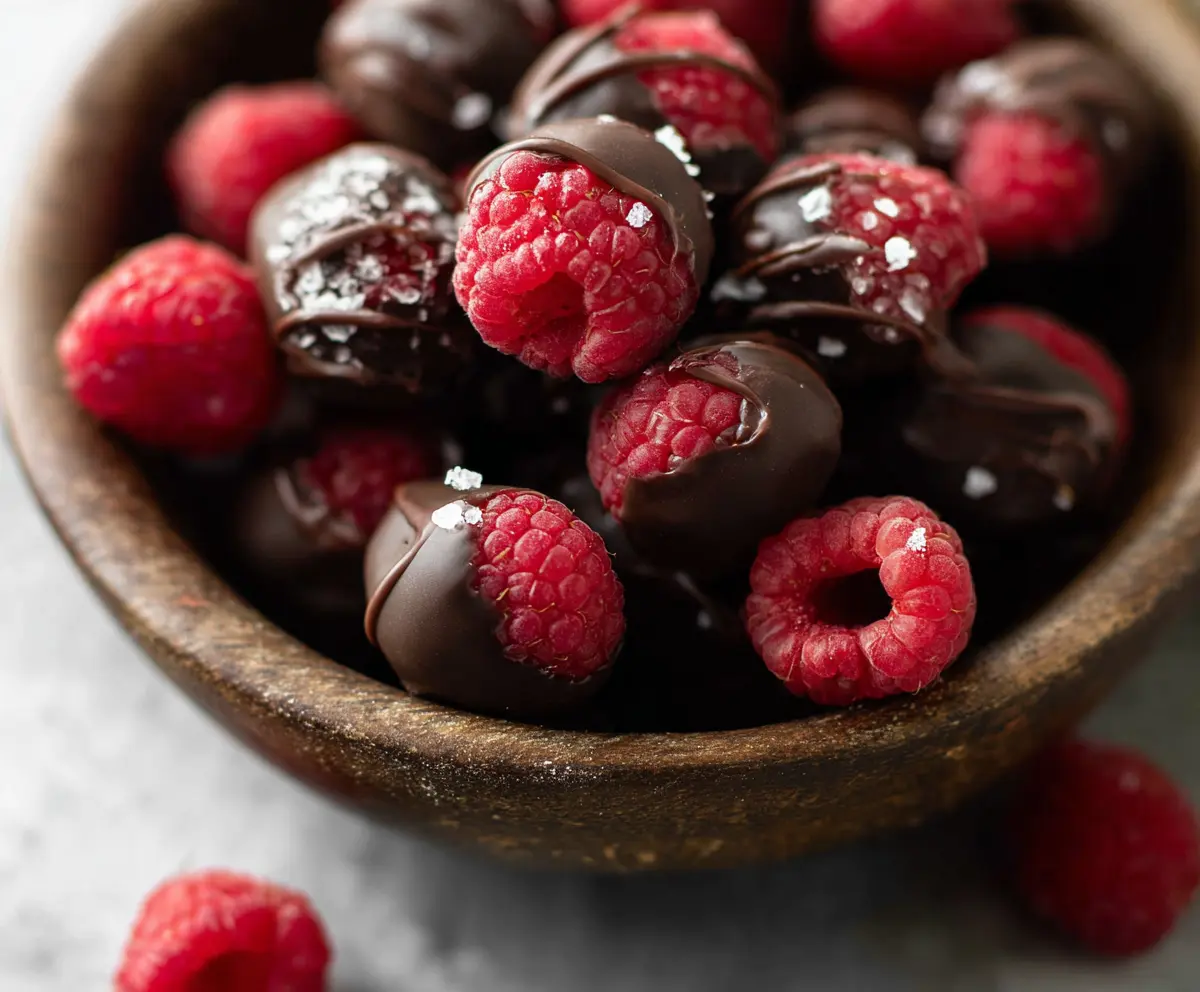
Using a fork or toothpick, carefully dip each raspberry into the melted chocolate, covering about two-thirds of it to let the raspberry show on top. Place each dipped raspberry onto the parchment paper.
5. Optional Decoration and Setting:
You can drizzle any leftover chocolate over the dipped raspberries for a fancy touch. Then, chill them in the refrigerator for 20–30 minutes until the chocolate hardens and becomes crisp.
6. Enjoy!
Serve your chocolate covered raspberries chilled or at room temperature. Since raspberries are delicate, enjoy them soon for the freshest taste and texture!
Can I Use Frozen Raspberries Instead of Fresh?
Yes, but make sure to fully thaw and pat them dry to remove excess moisture. Frozen raspberries tend to be softer, so handle them gently to avoid breaking while dipping.
What’s the Best Chocolate to Use?
Semi-sweet or dark chocolate works best for a rich flavor and firm coating. Use good quality chocolate for the smoothest melt and best taste. Milk chocolate or white chocolate can be used as alternatives if you prefer a sweeter coating.
How Should I Store Chocolate Covered Raspberries?
Store them in an airtight container in the refrigerator and enjoy within 1–2 days. Raspberries are delicate and can become mushy if stored too long.
Can I Make These Ahead of Time?
It’s best to dip raspberries just before serving to keep them fresh and prevent sogginess. However, you can melt the chocolate and prepare your workspace ahead of time to speed up the process.