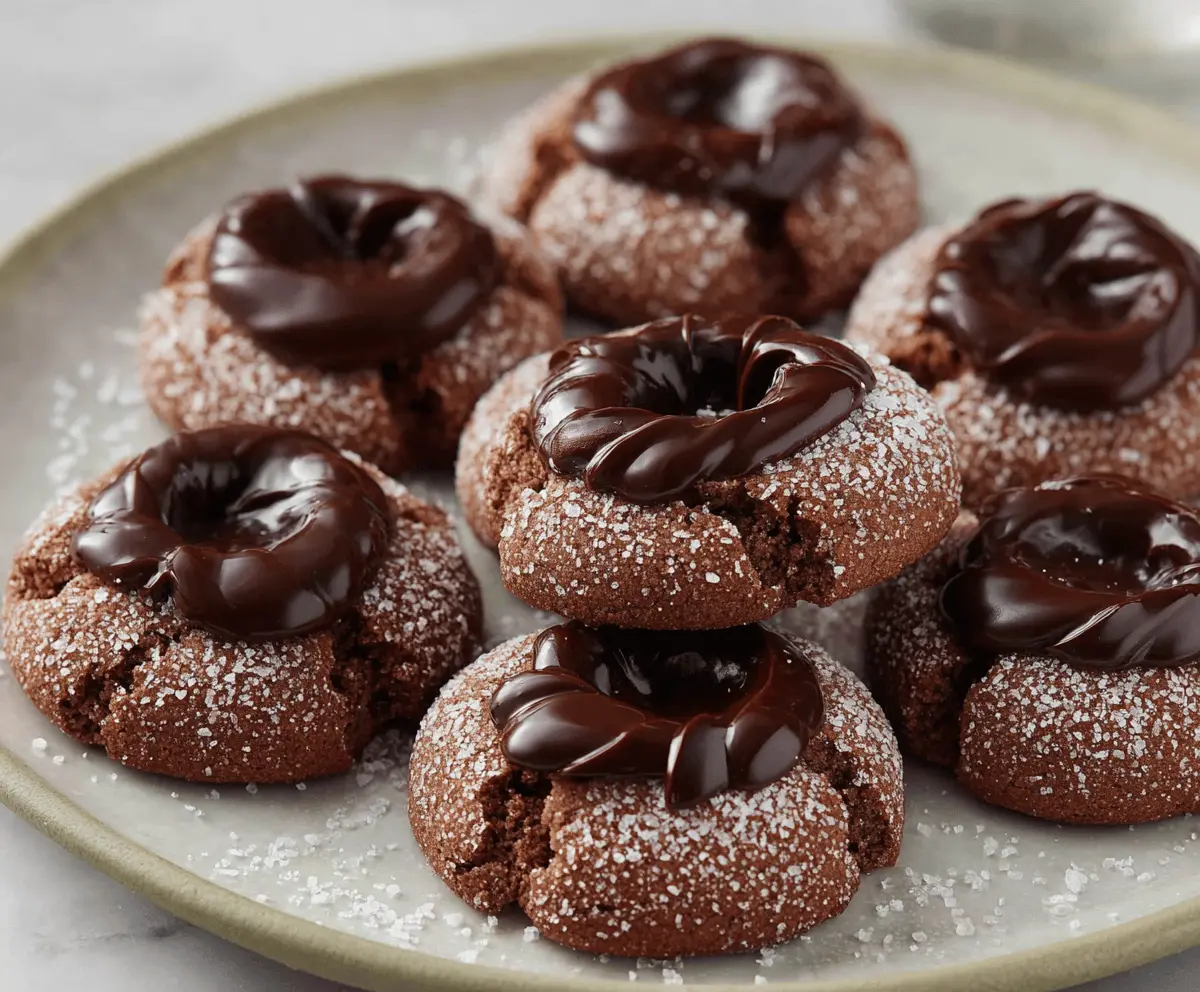
Chocolate Thumbprint Cookies are little bites of pure happiness, soft and buttery with a rich chocolate center that melts in your mouth. These cookies are perfectly tender with a slight crisp on the edges, and the thumbprint indent filled with gooey chocolate adds a fun twist that anyone will love.
I always enjoy making these cookies because they’re simple but feel a little special thanks to that creamy chocolate filling. Pressing the dough with your thumb is a little hands-on moment that makes baking feel cozy and fun. Plus, these cookies come out of the oven smelling like a chocolate lover’s dream, which always makes me smile.
My favorite way to enjoy them is with a glass of cold milk or a warm cup of tea. They’re great for sharing at gatherings or just as a sweet treat to lift your day. I’ve found that no matter who tries them, these cookies disappear quickly – so be sure to have a batch ready for those moments when you need a little chocolate comfort.
Key Ingredients & Substitutions
Butter: Use unsalted and softened butter to help the dough come together smoothly and for a pure buttery flavor. You can swap for margarine if dairy is a concern but texture may change slightly.
Sugar: Granulated sugar is used both in the dough and for rolling to add a nice outer crunch. You can try coconut sugar for a richer, slightly caramel flavor but color will darken.
Egg Yolks: These add richness and help bind the dough. If avoiding eggs, try a vegan egg substitute or mashed banana, but cookie texture will be softer.
Cocoa Powder: Unsweetened cocoa powder adds deep chocolate taste. Dutch-processed cocoa gives a smoother flavor if you prefer. Avoid substituting with hot cocoa mixes—they contain sugar and other ingredients that may affect consistency.
Chocolate Chips & Cream: Semi-sweet chocolate chips make a great filling. You could use milk or dark chocolate depending on sweetness preference. Heavy cream ensures a smooth filling, but milk works in a pinch for a lighter texture.
How Do I Make the Perfect Thumbprint Indentation Without Cracking?
Right after baking, the cookies are soft enough to gently press an indentation without breaking. If you wait too long, the dough becomes firm and cracks when pressed.
- When you take the cookies out of the oven, let them cool for just 1-2 minutes to avoid burning your fingers.
- Use your thumb or the back of a teaspoon to press straight down gently into the center.
- If dough cracks, try a gentler touch or a slightly warmer cookie.
- Make sure to press deep enough to hold plenty of chocolate filling, but not all the way through the cookie.
This step creates that classic thumbprint look and a perfect nest for the chocolate filling to shine.
Equipment You’ll Need
- Mixing bowls – I use a large bowl for creaming the butter and sugar, making mixing easier.
- Electric mixer or whisk – helps you beat the butter and sugar to a fluffy texture quickly.
- Measuring cups and spoons – for accurate measurements of ingredients.
- Silicone baking mat or parchment paper – prevents sticking and makes cleanup easy.
- Baking sheet – provides a flat surface for the cookies to bake evenly.
- Cookie scoop or tablespoon – helps form uniform-sized dough balls for even baking.
- Thumb or teaspoon – needed to create the indentation in each cookie after baking.
- Small spoon or piping bag – for filling the indentations with melted chocolate.
- Microwave-safe bowl – for melting the chocolate and cream mixture.
Flavor Variations & Add-Ins
- White chocolate & raspberry – fill the thumbprints with melted white chocolate mixed with fresh or frozen raspberries for a fruity twist.
- Peanut butter center – add a small dollop of peanut butter in the indentation before topping with chocolate for a nutty flavor.
- Mint chocolate – stir a few drops of peppermint extract into the melted chocolate for a refreshing taste.
- Spiced cocoa – add a pinch of cinnamon or chili powder to the dough for a warm, spicy flavor.
How to Make Chocolate Thumbprint Cookies
Ingredients You’ll Need:
- 1 cup (2 sticks) unsalted butter, softened
- 1 cup granulated sugar, plus extra for rolling
- 2 large egg yolks
- 1 teaspoon vanilla extract
- 2 cups all-purpose flour
- ½ cup unsweetened cocoa powder
- ½ teaspoon salt
- 1 cup semi-sweet chocolate chips or melting chocolate
- 3 tablespoons heavy cream or milk
- Optional: 2 tablespoons corn syrup (for glossy finish on chocolate filling)
How Much Time Will You Need?
This recipe takes about 15 minutes to prepare, 10-12 minutes to bake, plus about 20 minutes for the chocolate filling to set. Overall, plan for 45 minutes from start to finish, including cooling time.
Step-by-Step Instructions:
1. Prepare Dough and Bake Cookies:
Preheat the oven to 350°F (175°C). Line a baking sheet with parchment paper or a silicone mat for easy cleanup. In a large bowl, cream together the softened butter and 1 cup of granulated sugar until the mixture is light and fluffy—this takes about 2-3 minutes with a mixer or whisk.
Beat in the egg yolks one at a time, then add the vanilla extract and mix until combined. In a separate bowl, whisk together the flour, cocoa powder, and salt. Gradually add this dry mixture to the wet ingredients, mixing just until a dough forms.
Roll the dough into 1-inch balls. Roll each ball in granulated sugar to coat fully, then place them about 2 inches apart on the prepared baking sheet.
Bake for 10-12 minutes, until the cookies are set around the edges but still soft in the center.
2. Make Thumbprints:
Remove the cookies from the oven and while still warm, press your thumb or the back of a teaspoon gently into the center of each cookie to create an indentation. This is where the chocolate filling will go! Let the cookies cool on the pan for 5 minutes before transferring them to a wire rack to cool completely.
3. Prepare and Add Chocolate Filling:
To make the filling, heat the chocolate chips and heavy cream together in a microwave-safe bowl, using 20-second intervals. Stir the mixture after each interval until smooth and melted. For a shiny, glossy finish, you can stir in the optional corn syrup.
Spoon the melted chocolate mixture carefully into each cookie’s thumbprint indentation. Let the filling set at room temperature, or place the cookies in the refrigerator for 15-20 minutes until the chocolate is firm.
4. Serve and Enjoy:
These chocolate thumbprint cookies are deliciously soft with a melt-in-your-mouth chocolate center. Serve them with a glass of milk or your favorite warm drink for a cozy treat. Enjoy!
Can I Use Frozen Butter for This Recipe?
It’s best to use softened, room-temperature butter for creaming with sugar, as frozen butter won’t blend properly and can affect the cookie texture. If your butter is frozen, let it thaw in the fridge overnight or for a few hours at room temperature before starting.
Can I Substitute the Egg Yolks?
If you need an egg-free option, you can try using a flax egg (1 tablespoon ground flaxseed mixed with 3 tablespoons water) per yolk, but the texture may be slightly different and less rich. Keep in mind the cookies might be a bit more crumbly.
How Should I Store Leftover Cookies?
Store the cookies in an airtight container at room temperature for up to 3 days. To keep the chocolate center from melting, avoid direct sunlight and heat. You can also refrigerate them for up to a week; just bring them back to room temperature before serving for the best flavor.
Can I Use Other Fillings Instead of Chocolate?
Absolutely! Fruit jams, caramel, or nut butters make tasty alternatives if you want to mix things up. Just ensure the filling isn’t too runny to avoid soggy cookies.