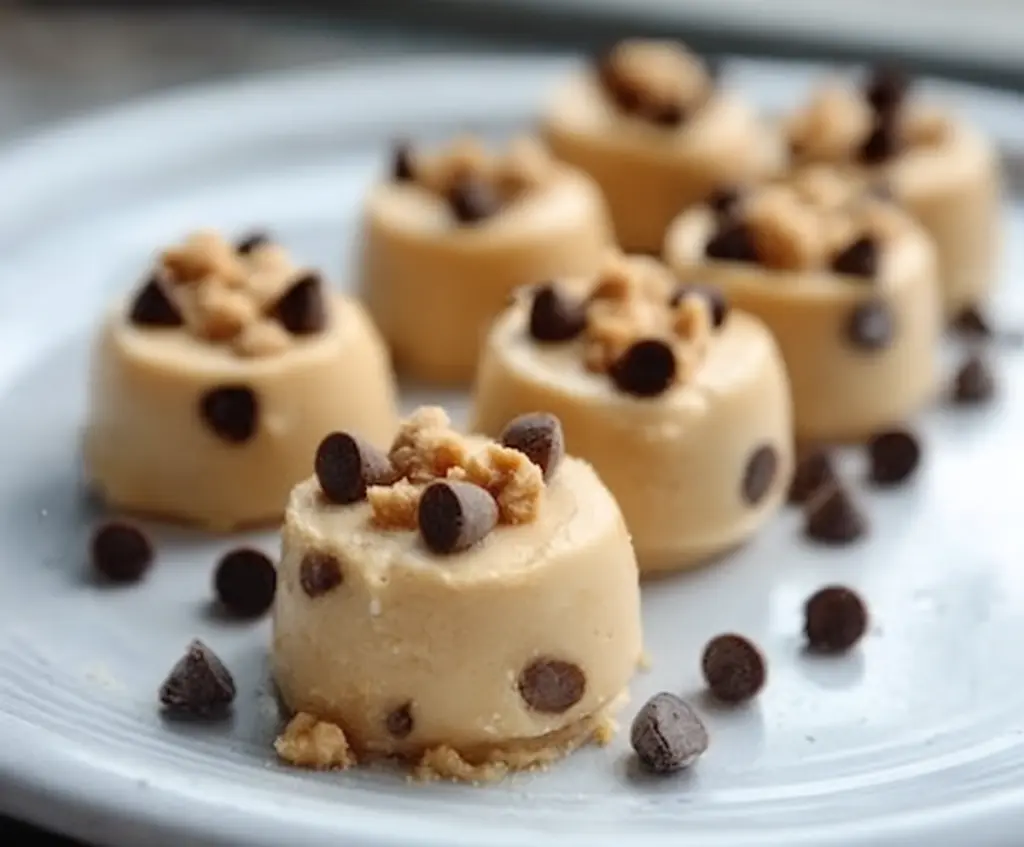
Frozen Peanut Butter Yogurt Bites are a fun and simple snack that combines creamy peanut butter with cool, tangy yogurt. These little treats are perfect for warm days when you want something sweet but refreshing. The bite-sized pieces make them easy to pop in your mouth, and the smooth texture is a great contrast to the chill from the freezer.
I love making these because they don’t take much time, and they satisfy my craving for something a little sweet without being too heavy. Sometimes I add a sprinkle of granola or a few chocolate chips on top before freezing, just to add a bit of crunch. They’re one of those snacks I keep coming back to whenever I want a quick, tasty pick-me-up.
These frozen bites are also great to share with friends or enjoy after a workout when you want a bit of protein and a cool treat. I like to keep a batch ready in the freezer so I can grab them anytime. Plus, they’re super kid-friendly, so they’re a winner in my house for a healthy little dessert or snack.
Key Ingredients & Substitutions
Greek Yogurt: This adds creaminess and a slight tang to balance the peanut butter. I prefer plain yogurt to control sweetness, but vanilla works great if you want a sweeter bite. For dairy-free, try coconut yogurt.
Peanut Butter: Creamy peanut butter gives richness and smooth texture. Natural peanut butter is less sweet and a bit healthier, but regular works. You can swap for almond or cashew butter if you like.
Honey or Maple Syrup: These natural sweeteners balance the flavors. Maple syrup adds a deeper flavor, while honey gives a lighter sweetness. Adjust amount to your taste or skip for less sugar.
Mini Chocolate Chips: These add little bursts of chocolate flavor and a nice texture contrast. If you don’t have mini chips, regular ones chopped up work fine. You can also replace with chopped nuts or dried fruit.
How Do You Freeze the Yogurt Bites Without Them Sticking?
Freezing can make the bites stick to molds or each other, so here are some tips for easy removal:
- Use silicone molds or mini muffin liners for easy pop-out.
- Sprinkle a tiny bit of cocoa powder, crushed nuts, or even a light spray of cooking spray in the molds before filling.
- Freeze bites on a flat tray first for a couple of hours before transferring to a container, so they’re set and won’t stick.
- Store bites in an airtight container with parchment paper between layers to avoid sticking together.
- Let bites sit a minute or two at room temp before serving, so they soften slightly and release easily from molds.
Equipment You’ll Need
- Silicone molds or mini muffin pan – I like silicone because it makes popping out the bites so easy.
- Mixing bowls – for stirring everything together smoothly.
- Measuring spoons and cups – to get the right amounts for sweetness and creaminess.
- Spoon or small scoop – helps fill the molds evenly for consistent bites.
- Freezer – essential for setting the bites into firm, snack-sized pieces.
Flavor Variations & Add-Ins
- Swap peanut butter for almond or cashew butter for different nut flavors.
- Mix in a handful of chopped nuts, dried fruit, or coconut flakes for extra texture.
- Use flavored yogurt, like vanilla or coconut, to change up the taste.
- Add a pinch of cinnamon or cocoa powder to the mixture for a warm or chocolaty twist.
Frozen Peanut Butter Yogurt Bites
Ingredients You’ll Need:
Main Ingredients:
- 1 cup plain or vanilla Greek yogurt
- 1/2 cup creamy peanut butter (natural or regular)
- 2-3 tablespoons honey or maple syrup (adjust for sweetness)
- 1/2 teaspoon vanilla extract
- 1/4 cup mini chocolate chips, plus extra for topping
- 2 tablespoons crushed graham crackers or cookie crumbs (optional, for topping)
How Much Time Will You Need?
This recipe takes about 10 minutes to prepare. After mixing and filling your molds, allow at least 2-3 hours for the bites to freeze completely. Once frozen, they’re ready to enjoy anytime!
Step-by-Step Instructions:
1. Mix the Ingredients:
Start by combining the Greek yogurt, peanut butter, honey (or maple syrup), and vanilla extract in a medium bowl. Stir everything together until the mixture is smooth and creamy, with no lumps.
2. Add the Chocolate Chips:
Gently fold in the mini chocolate chips, spreading them evenly through the yogurt-peanut butter mixture. This adds little bursts of chocolate in every bite.
3. Fill the Molds:
Use a spoon or small scoop to fill silicone molds or a mini muffin pan lined with paper liners. Fill each cavity nearly to the top for perfect-sized bites.
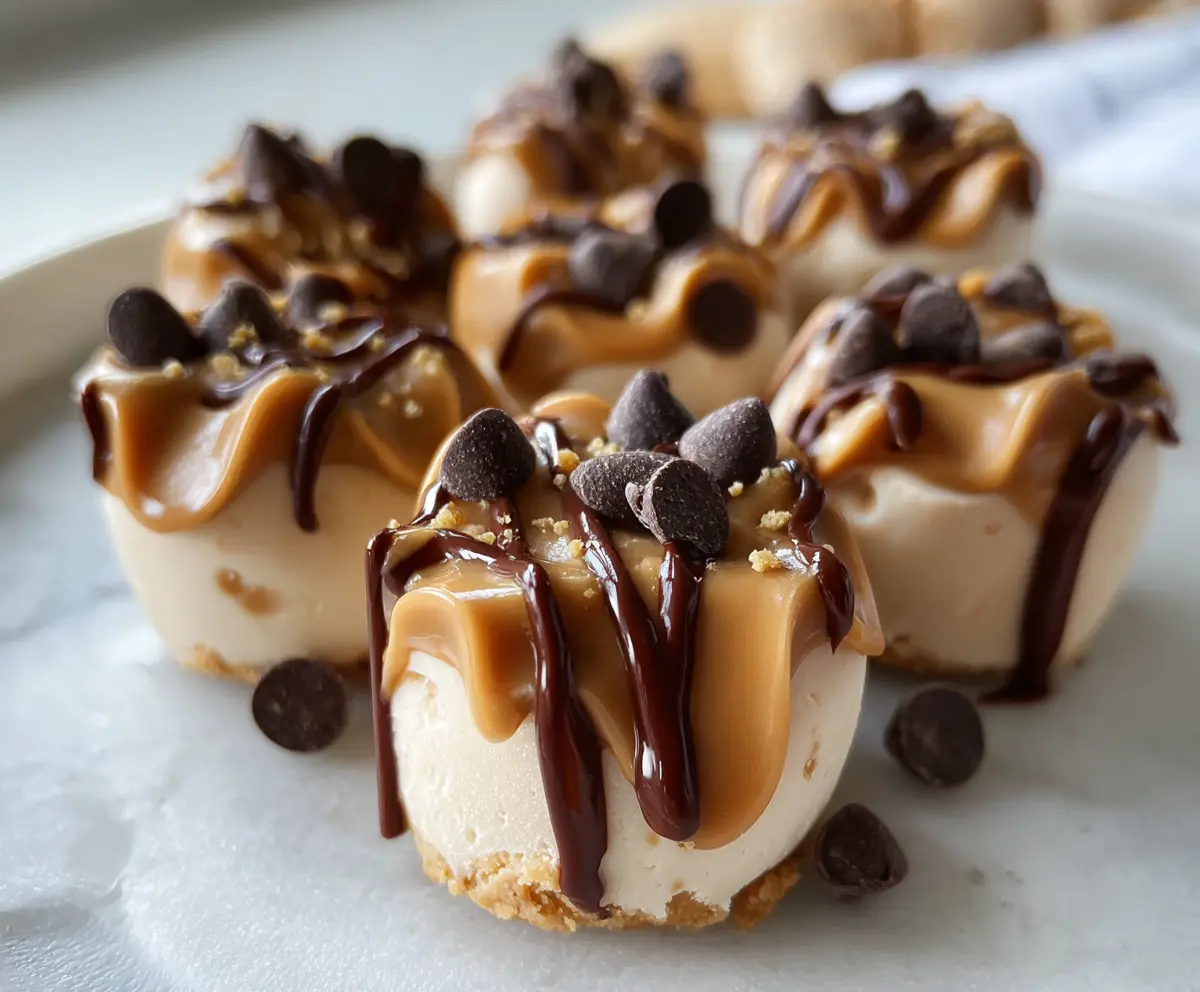
4. Add Toppings:
Sprinkle crushed graham crackers or cookie crumbs, along with a few extra mini chocolate chips, onto the top of each filled mold. This gives extra flavor and a bit of texture.
5. Freeze the Bites:
Place the molds in the freezer and freeze for a minimum of 2-3 hours until the bites are firm and fully frozen.
6. Store and Serve:
Once frozen, gently pop the bites out of the molds and store them in an airtight container in the freezer. When you’re ready for a snack, serve them right out of the freezer for a cool, creamy treat. Enjoy!
Can I Use Non-Dairy Yogurt for These Bites?
Absolutely! You can use coconut, almond, or any plant-based yogurt. Just make sure it’s thick and creamy to help the bites hold their shape when frozen.
How Long Do Frozen Peanut Butter Yogurt Bites Last in the Freezer?
Store them in an airtight container, and they’ll stay fresh for up to 2 weeks. For the best texture and flavor, try to eat them within a week.
Can I Make These Ahead of Time for Parties?
Yes! These bites are perfect to prepare a day or two in advance. Just keep them frozen until serving time to maintain their shape and chill.
What If I Don’t Have Silicone Molds?
No worries! You can use a mini muffin pan lined with paper liners or even ice cube trays. Just be sure to use parchment paper or liners for easy removal.