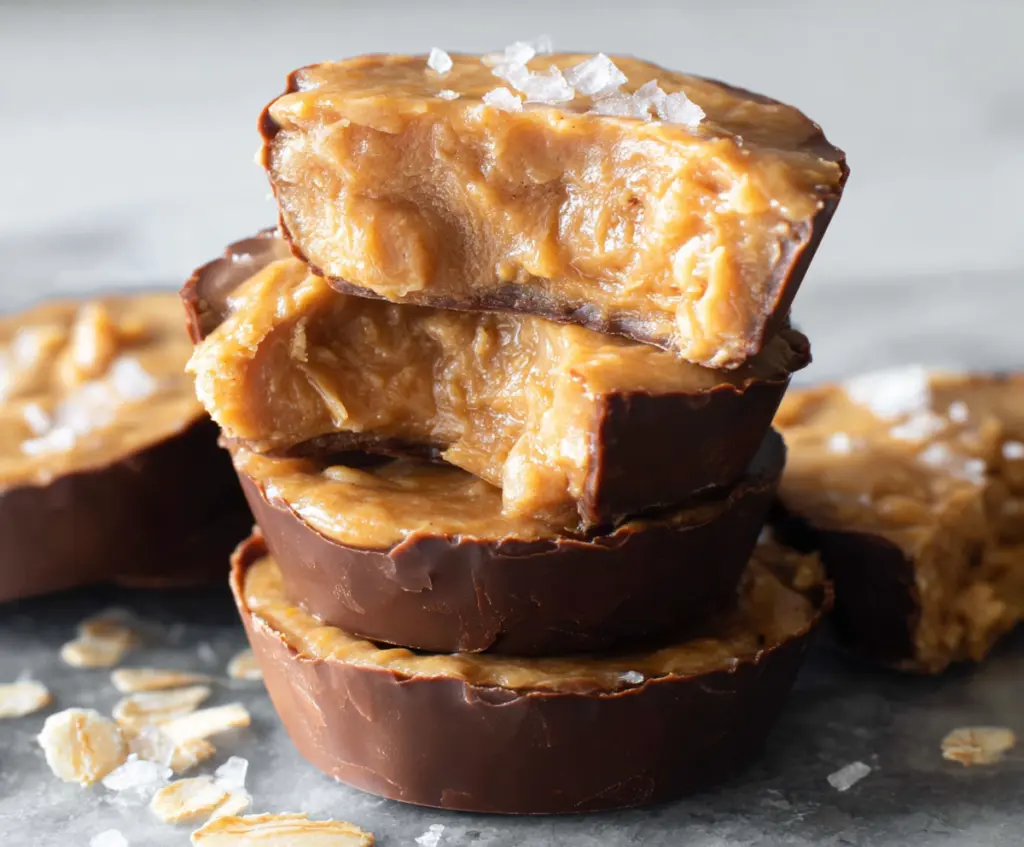
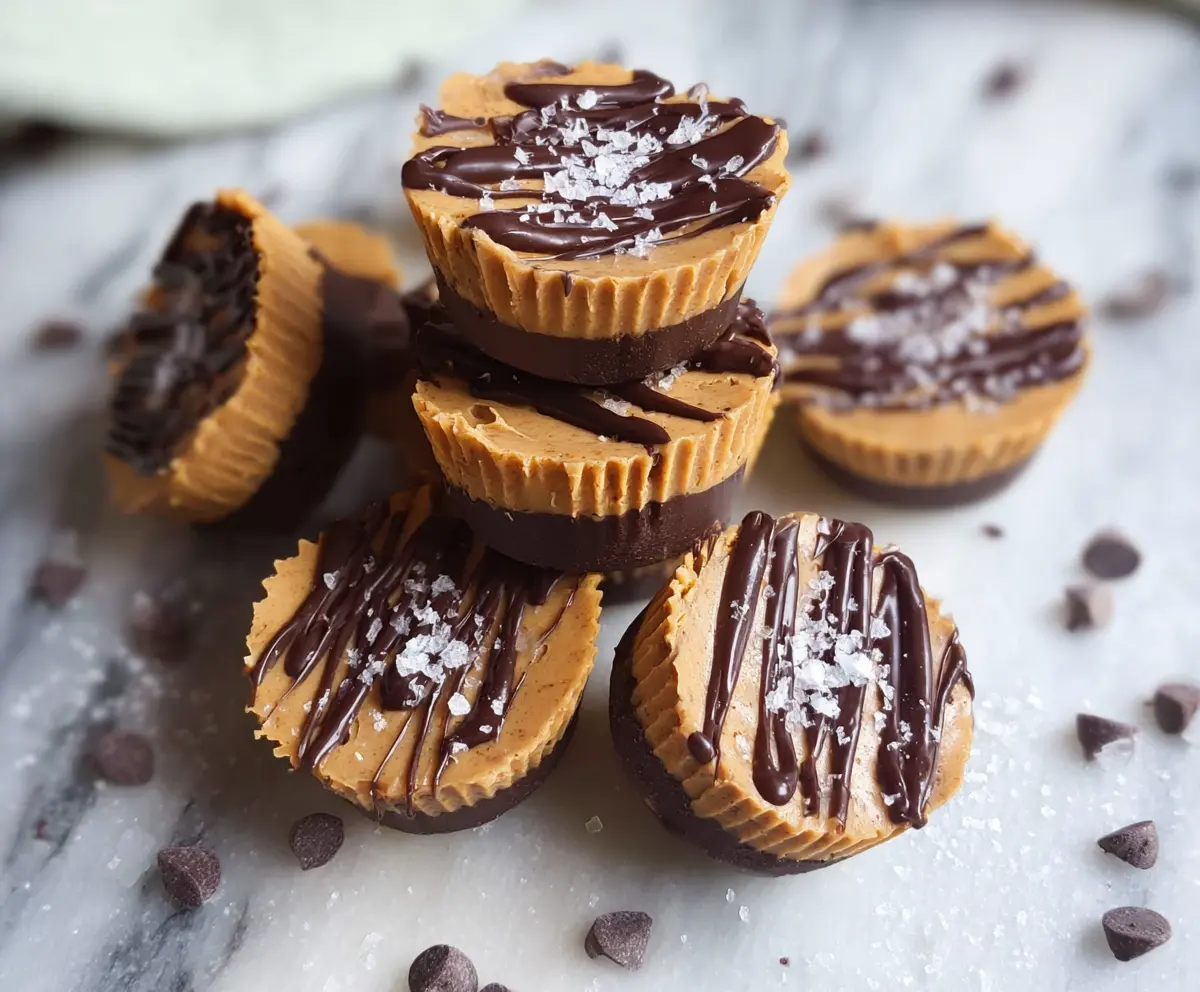
Healthy 3-Ingredient Peanut Butter Cups are a simple and tasty treat that combines creamy peanut butter, rich chocolate, and just a touch of sweetness. They’re perfect for when you want a little chocolate fix without all the extra ingredients or guilt. These cups have a smooth texture with a satisfying peanut butter center that melts in your mouth.
I love making these because they’re so quick and easy—only three ingredients, no baking, and they come together in no time. It feels great to satisfy that sweet tooth with something homemade and healthier than store-bought options. Plus, I enjoy customizing the peanut butter-to-chocolate ratio depending on how rich I’m feeling that day.
When I serve these peanut butter cups, I like to keep them chilled so they’re firm and refreshing, especially on warmer days. They’re great as a little snack, a dessert, or even a thoughtful gift when wrapped up nicely. If you’re anything like me, you might find yourself making a batch every week because they’re just that good and so easy to grab whenever a craving hits.
Key Ingredients & Substitutions
Natural Peanut Butter: I prefer natural peanut butter with no added sugars or oils for a cleaner taste. You can use creamy or chunky based on your texture preference. Almond or cashew butter also work well if you want to switch up the flavor.
Dark Chocolate Chips: Choose at least 70% cocoa for a deep chocolate flavor and less sugar. For dairy-free or vegan diets, opt for dairy-free chocolate chips or chopped vegan chocolate bars.
Rolled Oats: Oats add a nice chewiness and a bit more fiber. If you don’t have oats, you can try finely chopped nuts or even shredded coconut as an alternative for texture.
How Do You Get the Perfect Layered Peanut Butter Cups?
Layering the chocolate and peanut butter carefully is the trick to these cups holding together nicely and looking neat.
- Start by melting the chocolate gently in short bursts to avoid burning.
- Spoon a thin, even layer of chocolate into the liner and chill to harden—this acts as the base.
- Add the peanut butter-oat mix, pressing down lightly for a compact center.
- Top with the remaining chocolate, spreading gently to cover fully.
- Chill long enough for everything to set firm, which makes peeling easy and the cups hold their shape perfectly.
Equipment You’ll Need
- Mini muffin tin – I find it perfect for making neat, individual peanut butter cups and easy to remove from once set.
- Cupcake liners or silicone molds – these keep the cups from sticking and make cleanup easier.
- Microwave-safe bowl – for melting the chocolate quickly and smoothly, without fuss.
- Spatula or spoon – helps spread the melted chocolate evenly in the liners and covers the peanut butter layer cleanly.
- Refrigerator – to chill the layers and speed up the setting process, keeping everything firm.
Flavor Variations & Add-Ins
- Add a dash of vanilla or cinnamon into the peanut butter mixture for extra flavor.
- Mix in chopped nuts, dried fruit, or shredded coconut into the peanut butter layer for extra texture and taste.
- Swirl a spoonful of natural jam or honey into the peanut butter for a fruity or sweet twist.
- Use white or milk chocolate instead of dark for a different flavor profile, or add a pinch of sea salt on top for contrast.
Healthy 3-Ingredient Peanut Butter Cups
Ingredients You’ll Need:
For The Peanut Butter Filling:
- 1 cup natural peanut butter (creamy or chunky, unsweetened or lightly sweetened)
- 2 tablespoons rolled oats (for texture and a bit of chewiness)
For The Chocolate Coating:
- 1 cup dark chocolate chips (or dairy-free chocolate chips for a vegan option)
- Optional: sea salt flakes for sprinkling on top
How Much Time Will You Need?
This recipe takes about 10 minutes to prepare and about 30 minutes to chill in the fridge until firm. It’s quick and easy, perfect for a last-minute healthy treat!
Step-by-Step Instructions:
1. Prepare Your Pan:
Start by lining a mini muffin tin with cupcake liners or lightly grease it. This keeps your peanut butter cups from sticking and helps them come out easily once set.
2. Melt the Chocolate:
In a microwave-safe bowl, melt the dark chocolate chips by heating in 20-30 second intervals. Stir well between each heating until the chocolate is smooth and fully melted.
3. Build the Base Layer:
Spoon about 1 tablespoon of the melted chocolate into the bottom of each muffin liner, spreading it to cover evenly. Place the muffin tin in the fridge for 5 to 10 minutes to let this chocolate base harden.
4. Mix the Filling:
While the base sets, combine the peanut butter and rolled oats in a bowl. Stir until everything is well mixed. This gives the filling a lovely texture and some chewiness.
5. Add the Peanut Butter Layer:
Once the chocolate base is firm, add about 1 tablespoon of the peanut butter-oat mixture on top of the chocolate in each cup. Press gently to flatten it out evenly.
6. Add the Top Chocolate Layer:
Spoon the remaining melted chocolate over the peanut butter filling, covering it completely. If you like, sprinkle a pinch of sea salt flakes on top now to enhance the flavor.
7. Chill and Serve:
Put the peanut butter cups back in the fridge for at least 30 minutes or until they are firm and set. When ready, carefully remove the cups from the muffin tin and peel off the liners. Keep them refrigerated until you’re ready to enjoy!
Can I Use Frozen Peanut Butter Cups?
Yes! You can freeze these peanut butter cups for up to 2 months. Just store them in an airtight container with parchment paper between layers. Thaw in the fridge for about 15 minutes before enjoying.
What Can I Substitute for Rolled Oats?
If you don’t have rolled oats, try finely chopped nuts, shredded coconut, or even crushed graham crackers for a different texture. Just mix the substitute evenly with the peanut butter.
Can I Make These Nut-Free?
Absolutely! Use sunflower seed butter or soy nut butter instead of peanut butter to make a nut-free version. The texture and flavor will be slightly different but still delicious.
How Should I Store Leftovers?
Keep the peanut butter cups in an airtight container in the refrigerator for up to one week. For longer storage, freeze as mentioned above to maintain freshness and texture.