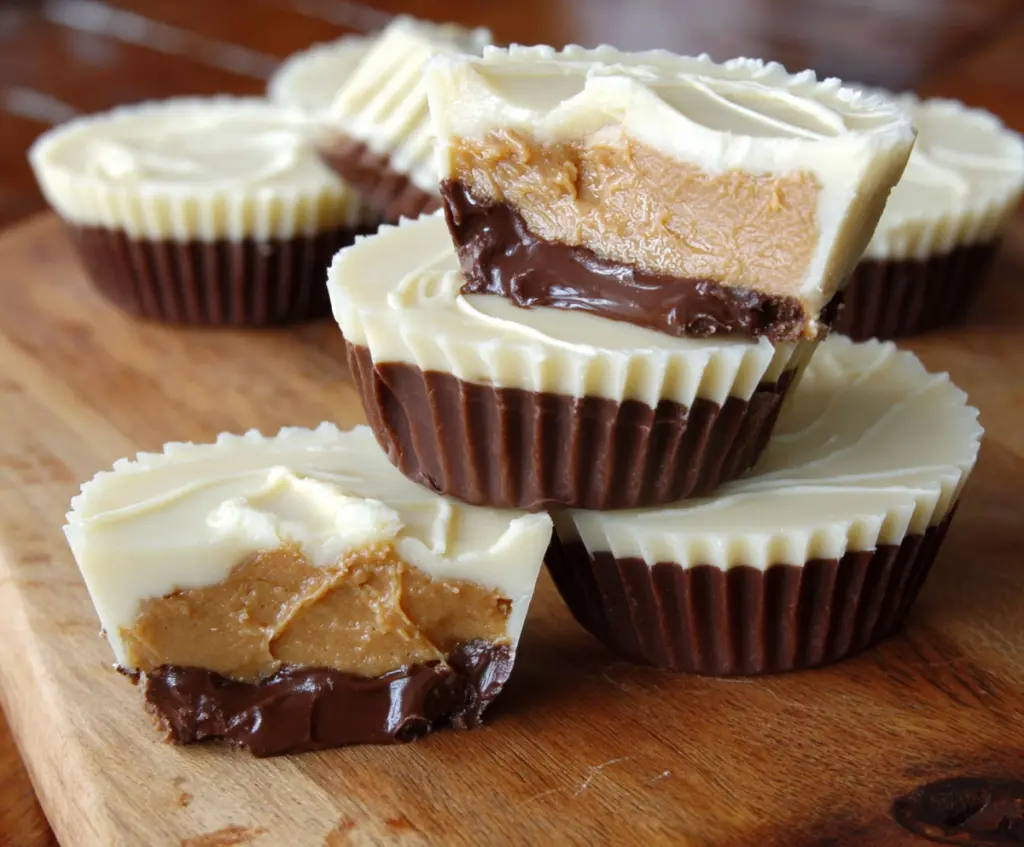
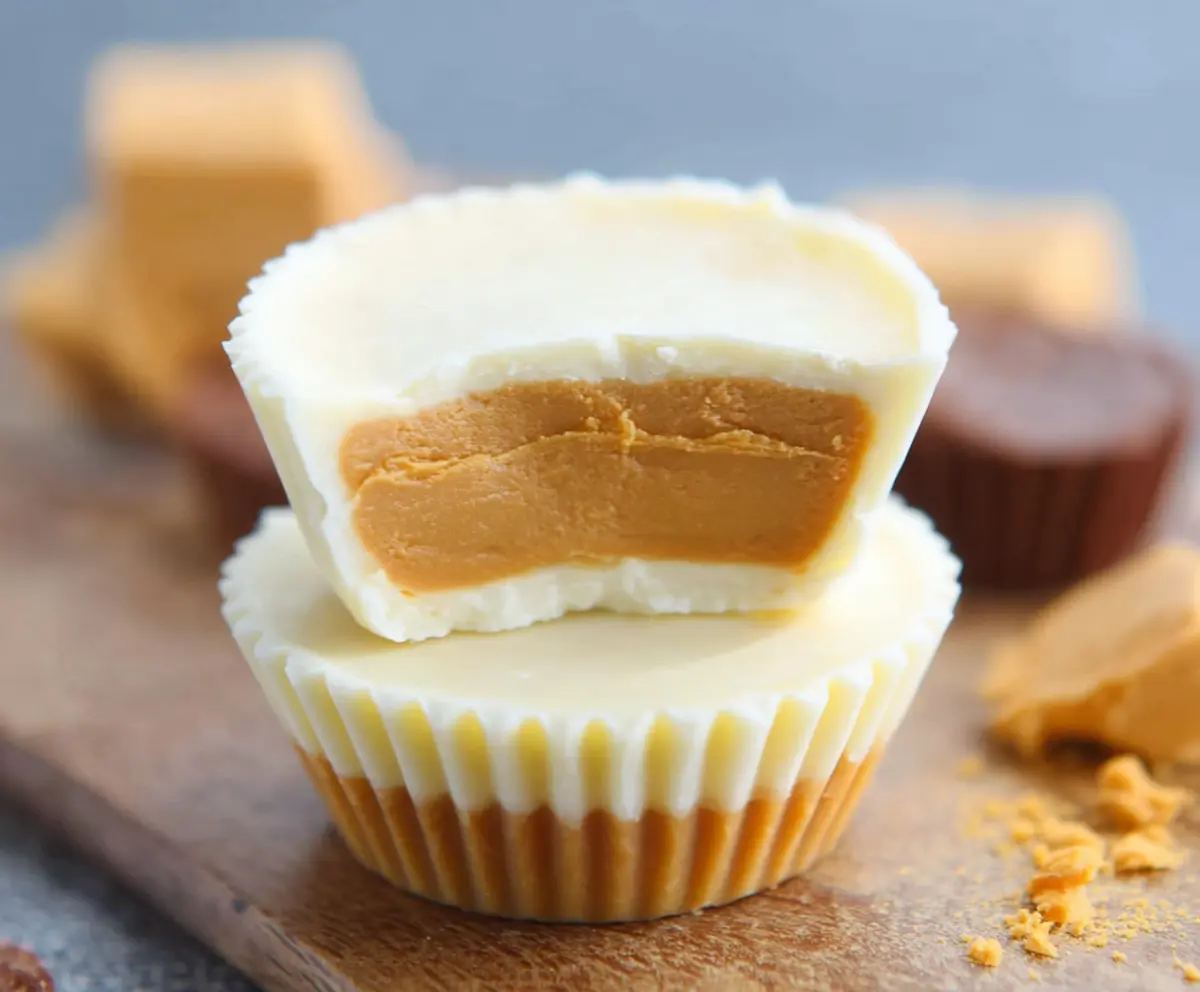
White Chocolate Peanut Butter Cups combine the creamy sweetness of white chocolate with the rich, salty goodness of peanut butter, making for a perfect little treat that’s both smooth and satisfying. They’re simple to make but taste like something special you’d find in a fancy candy store.
I love making these because they’re so quick to whip up, and they always bring smiles. The best part is getting the balance right between the sweet white chocolate and the slightly salty peanut butter center. I usually use a little powdered sugar in the peanut butter to make it just the right texture—smooth but firm enough to hold its shape.
These peanut butter cups are perfect for sharing at parties, gifting to friends, or just sneaking one (or three) when you need a little pick-me-up. Plus, they keep well in the fridge, so I like to make a batch ahead so there’s always a chocolate fix close by whenever the craving hits.
Key Ingredients & Substitutions
Peanut Butter: Use creamy peanut butter for a smooth filling that holds together well. If you prefer, almond butter or sunflower seed butter are great alternatives for allergies or different flavors.
Powdered Sugar: It sweetens and firms up the peanut butter filling. You can swap it for coconut sugar powder if you want a less processed option.
White Chocolate: Use good-quality white chocolate chips or bars for smooth melting and that rich flavor. If white chocolate isn’t your favorite, you can use milk chocolate as the top layer instead.
Dark Chocolate: The base layer uses semi-sweet or dark chocolate to balance the sweetness of the white chocolate. If you prefer less bitterness, use milk chocolate here.
Coconut Oil (Optional): Adding a little coconut or vegetable oil helps the chocolate melt smoother and sets with a nice shine. You can leave it out if you want, but the texture might be a bit denser.
How Can I Get Perfectly Layered Peanut Butter Cups Without the Layers Mixing?
The secret is patience and cooling the layers enough before adding the next one. Here’s how to do it:
- After pouring the melted dark chocolate base, spread it evenly and chill in the freezer for about 10 minutes until firm. This stops the next layer from melting into it.
- Add the peanut butter filling carefully, pressing it gently to keep it neat, then freeze again for 10 minutes. This firm peanut butter layer supports the next chocolate layer without blending.
- Finally, pour the white chocolate gently over the peanut butter, smoothing it out quickly before it hardens.
- Chill the cups fully in the freezer or fridge to set the entire treat well.
Taking these steps slowly ensures clean, distinct layers and makes the peanut butter cups look as good as they taste!
Equipment You’ll Need
- Mini muffin liners or regular cupcake liners – I suggest these for easy individual servings and clean removal.
- Mini muffin tray or baking sheet – helps hold the liners steady while you build the layers.
- Microwave-safe bowls – for melting the chocolates smoothly without mess.
- Back of a spoon or small spatula – useful for spreading the melted chocolate evenly in the liners.
- Measuring spoons – to measure small amounts of ingredients accurately.
Flavor Variations & Add-Ins
- Use milk chocolate or dark chocolate instead of white for a richer flavor or a different look.
- Add a sprinkle of flaky sea salt on top of the white chocolate for a sweet-salty contrast.
- Mix in crushed pretzels or chopped nuts into the peanut butter for extra crunch and flavor.
- Swirl in a little raspberry or caramel sauce into the white chocolate before setting for a fruity or caramel twist.
White Chocolate Peanut Butter Cups
Ingredients You’ll Need:
For the Peanut Butter Filling:
- 1 cup creamy peanut butter
- ¼ cup powdered sugar
- ¼ cup unsalted butter, softened
For the Chocolate Layers:
- 1 ½ cups white chocolate chips or chopped white chocolate
- 1 cup semi-sweet or dark chocolate chips or chopped chocolate
- 2 teaspoons coconut oil or vegetable oil (optional, for smoother chocolate)
Other:
- Mini muffin liners or regular-sized cupcake liners
How Much Time Will You Need?
This recipe takes about 20 minutes of hands-on prep time, plus about 30 to 40 minutes of chilling and setting time in the freezer or fridge to firm up the layers.
Step-by-Step Instructions:
1. Prepare the Peanut Butter Filling:
In a medium bowl, mix the creamy peanut butter, softened butter, and powdered sugar until everything is smooth and well combined. Set this bowl aside for now.
2. Make the Dark Chocolate Base:
In a microwave-safe bowl, combine the semi-sweet or dark chocolate chips with 1 teaspoon of coconut oil if using. Microwave in 30-second bursts, stirring between each, until the chocolate is completely melted and smooth.
3. Form the Base Layer:
Place your mini muffin liners into a mini muffin tray (or regular cupcake liners if using). Spoon about 1 teaspoon of the melted dark chocolate into each liner. Use the back of a spoon to spread the chocolate evenly over the bottom. Put the tray in the freezer for 10 minutes so the base layer hardens.
4. Add the Peanut Butter Layer:
Once the chocolate bases are firm, spoon about 1 teaspoon of the peanut butter mixture onto each chocolate base. Press the peanut butter gently to make a smooth even layer, keeping it inside the chocolate edges. Return the tray to the freezer for another 10 minutes to set this layer.
5. Add the White Chocolate Topping:
In another microwave-safe bowl, melt the white chocolate chips with the remaining teaspoon of coconut oil (optional), heating in 30-second bursts while stirring between each until smooth. Spoon the melted white chocolate over the peanut butter layer in each cup, covering the peanut butter completely. Smooth the tops gently with the back of a spoon.
6. Set the Peanut Butter Cups:
Place the tray back into the freezer or refrigerator for 20-30 minutes, or until the white chocolate topping is completely firm.
7. Serve and Store:
Once firm, carefully remove the peanut butter cups from their liners. Serve immediately or store the leftovers in an airtight container in the refrigerator for up to a week.
Can I Use Natural Peanut Butter Instead of Creamy?
Yes, but natural peanut butter tends to be more oily and less firm, which might make the filling softer. If you use it, chill the mixture slightly before assembling to help it set better.
Can I Make These Peanut Butter Cups Ahead of Time?
Absolutely! You can prepare the cups and store them in the fridge for up to one week. Just keep them in an airtight container to maintain freshness and texture.
How Should I Store Leftover Peanut Butter Cups?
Store leftovers in an airtight container in the refrigerator. They keep well for about a week. Before serving, you can let them sit at room temperature for a few minutes for a softer bite.
Can I Substitute White Chocolate with Regular Milk Chocolate?
Yes, you can swap the white chocolate for milk chocolate if you prefer. Just melt it the same way and layer it over the peanut butter for a delicious variation.